At Home Gel Manicures: A How To

This is on day 5!

Products Needed- total around $90:

Gel lamp: https://www.amazon.com/gp/product/B0756ZMFRL/ref=ppx_od_dt_b_asin_title_s00?ie=UTF8&psc=1

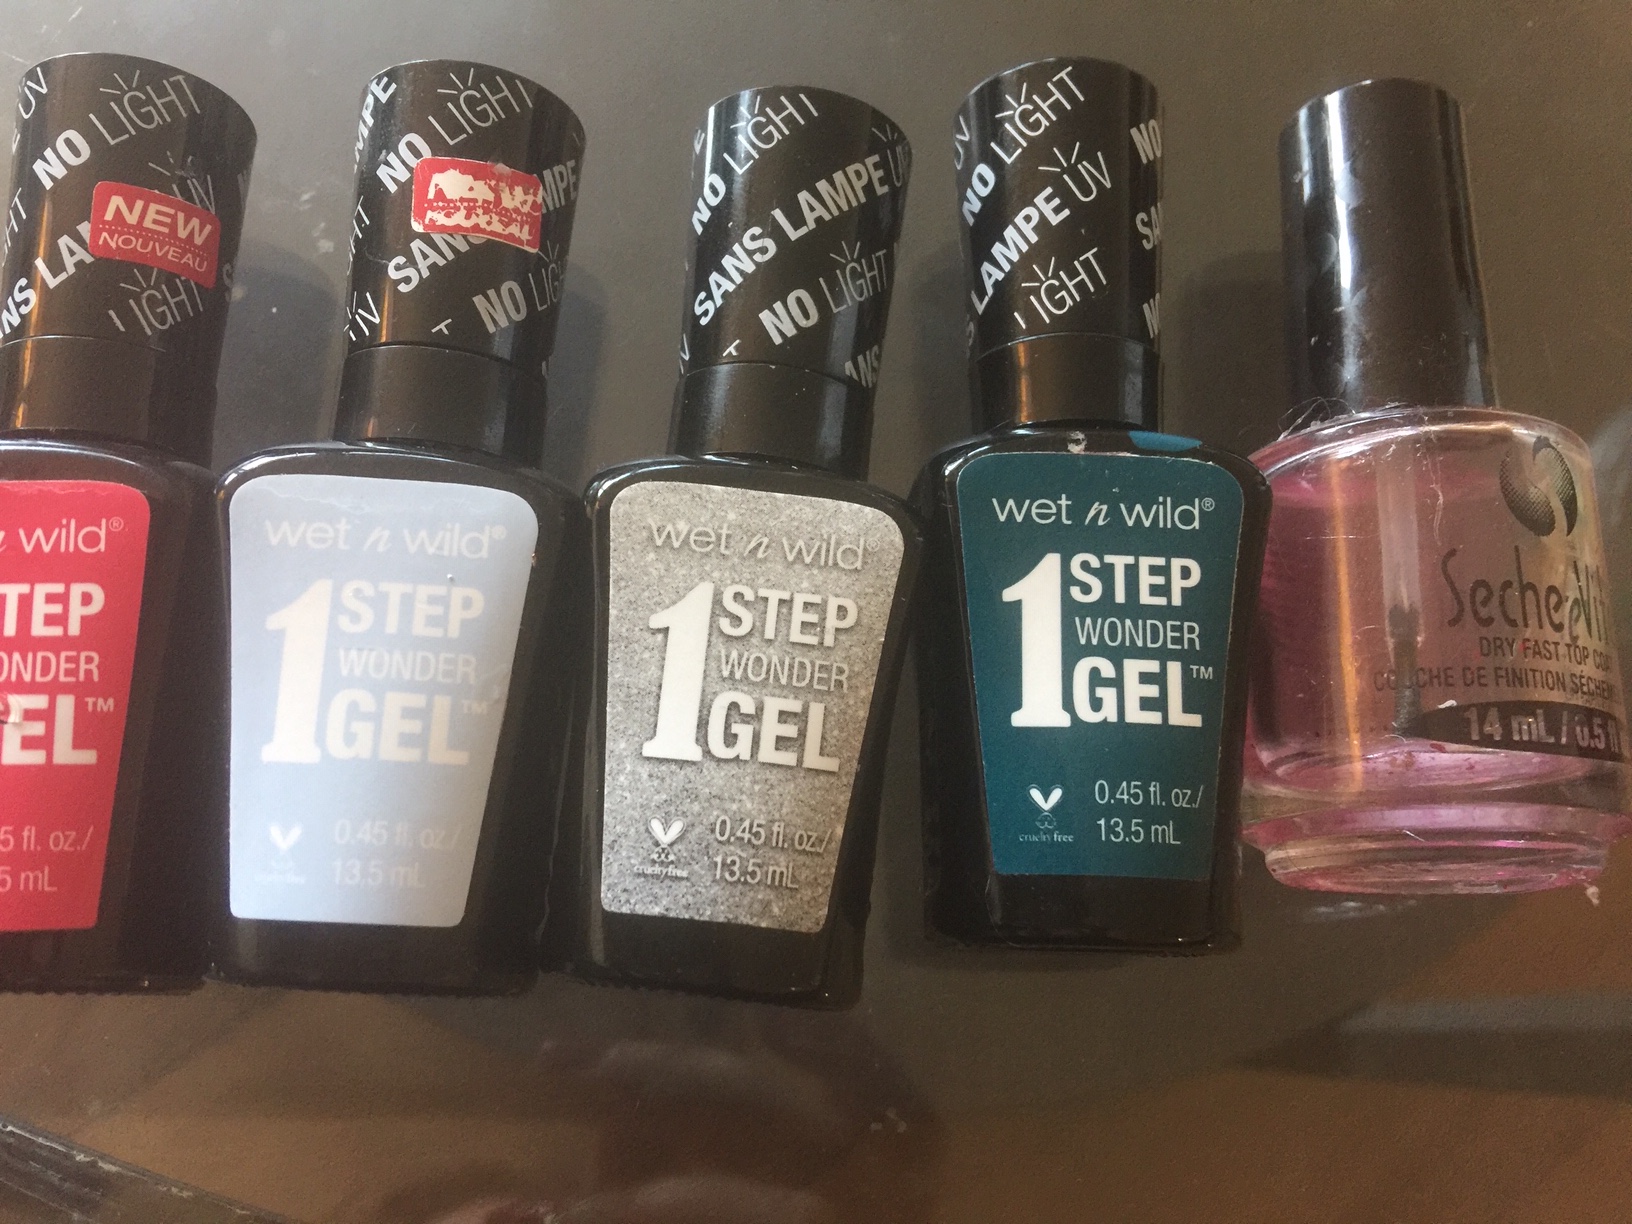
Gel polish set (6 total of reds and pinks): https://www.amazon.com/gp/product/B07HTBYXWD/ref=ppx_od_dt_b_asin_title_s00?ie=UTF8&psc=1

Gel Base Coat and Top Coat: https://www.amazon.com/Gelcolor-Soak-Base-Coat-each/dp/B07JKBZJRB/ref=sr_1_8?crid=24EHK3M779PAQ&keywords=opi+gel+top+coat+and+base+coat&qid=1551036824&s=gateway&sprefix=OPI+gel+top+c%2Caps%2C128&sr=8-8

Bond Aid: https://www.amazon.com/Bondaid-pH-Balancing-Agent-30/dp/B01N6OCRNC/ref=sr_1_1?keywords=bond+aid&qid=1551037118&s=gateway&sr=8-1

I used to spend $70 a month at the nail salon on gel manicures. This totals $840 a year on nails! If you buy this at home set for $90, you will save up to $730 this year!

For context, a few months ago, my friend told me she did gel manicures at home. I initially bought a $35 starter set. While I would not recommend a starter set as the lamp is not very good, the set made me realize I could get professional looking gel manicures at home. I did some research and saw I could buy professional grade products for a total of approximately $90. If you follow the instructions below, your manicure will last just as long, if not longer, than a professional gel manicure.

In addition to saving money, the at home gel manicure saves a lot of time. Usually, when you go to salons, you have to dry one hand at a time. I highly recommend purchasing lamp in this set as it fits both hands- it cuts the drying time in half!

The bond aid, base coat, and top coat are EXACTLY the same as the ones used in the majority of nail salons. The cheaper gel polish sets produce the same results as the individual OPI or Shellac polish colors, assuming you use the professional bond aid/base coat/top coat.

Steps to the professional at home gel manicure:

  1. Clip and file nails. I prefer round nails as it looks more polished.
  2. Paint a layer of bond aid on each of your nails. Let it dry fully.
  3. Using base coat, paint a thin layer on each nail.
  4. Dry using gel lamp 3 times. As in, let it dry for 60 seconds and do 2 more rounds to ensure nails are fully dry.
  5. Paint a layer of gel polish carefully, ensuring not to get polish on the cuticles.
  6. Repeat step 4.
  7. Paint another layer of gel polish.
  8. Repeat step 4.
  9. Paint a thick layer of top coat.
  10. Dry using gel lamp 5 times. As in, let it dry for 60 seconds and do 4 more rounds to ensure nails are fully dry. The extra time is needed because I paint a thick layer- I think it results in a longer lasting manicure.
  11. Optional: Take alcohol and a cotton ball and apply to the dried polish for a lasting shine.

Flawless Skin 101

Today, I achieved flawless, airbrushed looking skin after practicing and watching countless beauty tutorials. I am ready to share my techniques with you.

Products required (can choose from high end luxury or drugstore, depending on your budget and preference): Moisturizer/serum, illuminating primer, pore filling/minimizing primer, foundation, concealer, pressed powder or loose powder, illuminating serum, setting spray, beauty sponge (Beauty Blender or fake version), foundation brush

Products used: Garnier Clearly Brighter Moisturizer, Physician’s Formula Illuminating Primer, NYX Pore Minimizer Primer, Sephora 10 Hr Wear Perfecting Foundation, Truly Yours Dark Circle Concealer, Cover Girl Advanced Radiance Pressed Powder, Physician’s Formula Rose All Day Oil Free Serum, Pixi Glow Mist, Physician’s Formula Insta Ready Setting Spray, foundation brush, beauty sponge. ($3 kind from TJ Maxx), fluffy brush

**Most of these products are drug store or TJ Maxx and total $150. For context, each of the above products cost $10-20. Luxury brands are between $25-50 (some moisturizers are $80+). I may at some point write an entire post about the Garner Clearly Brighter Moisturizer with SPF 30 for only $18. It is significantly better than high end products.

I am listing the steps to make it easy to follow:

  1. Moisturize skin. Wait for moisturizer to absorb fully before moving to the next step.
  2. Apply illuminating primer all over skin using hands.
  3. Apply pore minimizing primer to areas where you want to minimize pores- I stick with cheeks and nose.
  4. Apply foundation on a palette- I use the back of my hand. I dip my foundation brush into the foundation and apply a light layer in broad strokes, starting with my cheeks. I make sure to apply foundation on chin so it looks seamless. I continuously blend, first with the brush (no additional product) and then with a damp beauty sponge (I use the $3 kind from TJ Maxx and dampen slightly with Pixi Glow Mist).
  5. Apply concealer. Blend with damp beauty sponge.
  6. Apply setting powder very carefully. Apply a little powder to the brush. Tap off excess on your hand. If there is too much powder, it looks cakey. The goal here is to have an airbrushed finish.
  7. Set with a setting spray. I use two- the Pixi Glow mist makes skin look dewy and the Physician’s Formula adds lasting power. I find a good setting spray makes makeup to last for hours. As a side note, I have put on makeup at 8 AM and had it last until 10 PM using primers, setting powder, and setting spray.
  8. Apply Rose All Day Illuminating Serum on cheek bones or all over for an extra glow!

As you can see, priming and setting the face are critical steps in the process. Applying foundation alone will result in makeup that sits on your skin and looks heavy.

For the purpose of this post, I am recommending a pressed powder instead of a loose powder. I am currently doing research on loose setting powders. I have tried the famous Hourglass Vanish for $47 and while I like it, I want my recommendations to be affordable. I can say the renowned Laura Mercier setting powder did not work for me- my makeup looked heavy. I am researching affordable loose powders and once I find the “One” I will post!

Quick DIY Manicures!

Products discussed*: Wet n Wild 1 Step Wonder Gel Polish, Seche Clear Dry Fast Top Coat, Envi Nail Enamel Drier.

If you are looking for a quick 5-10 minute at home manicure with gel like results, this blog post will be life changing!

For background, I got into painting my nails last summer when I took daily conference calls at 4 PM on my balcony. With all the experience, not only did I become a pro at polishing my nails, I also became an expert at finding the best products!

I tried expensive salon brands as well as drugstore brands for polish. I became obsessed with Wet n Wild 1 Step polish in the color “Air Apparent” (although I at this point I have most of the colors). The Wet n Wild 1 Step, combined with the Seche Clear Top Coat result in a gel like finish that lasts for days. To start, I paint a thin layer starting just above the cuticle (always avoid putting polish on the cuticle). Unlike most polishes, Wet n Wild 1 Step polish requires many layers to have an opaque finish. Trust me, it is worth the effort of applying a coat, waiting for it to dry, and repeating 4-6X! While the last coat of polish is wet, I apply a very thick coat of Seche Clear Dry Fast Top Coat. After about a minute, I spray my nails with the Envi Nail Enamel Drier spray. With these two products, I never have to wait more than a minute for my nails to dry.

Voila! A perfect manicure at home that will save you time and money.

*As a note, all of the above products are sold at the drug store and cost a total of $18.

VS “Bubble n Chill” Bubble Mask Reviewed

Bubble Masks are the latest trend. The oxygenating properties cause bubbling/foaming that results in brighter, purified skin. I have read the effects a bubble mask are similar to those of an expensive oxygen facial you would get at a dermatologists office or spa. A $1-5 mask (depending on the sale at Victoria’s Secret) could potentially save $100-200.

The “Bubble n Chill Charcoal Recovery Mask” piqued my interest when I was at Victoria’s Secret as I love their masks- they produce excellent results for as low as $1 price point. I previously tried the Sephora bubble mask and while the bubbles were fun, I did not see results,. This mask is different- the 100% charcoal fiber makes it much easier to apply due to the thickness of the mask and really helps clear out pores. Once applied, you will see it start to foam, lathering up like a cleanser.

When I removed the mask, massaged the mask into my skin, and rinsed, I saw immediate results. It felt like all the dirt was removed from my pores. Upon further inspection, my pores shrunk significantly and my skin looked brightened. My skin felt extraordinarily purified. If you want to get in on the bubble mask trend and are looking for the above results, try out the “Bubble n Chill Recovery Mask”.

Comment if there are any masks you would like me to review!

The Latest on Contour Palettes

List of Products Discussed

  1. Covergirl TruNaked Palette
  2. Wet n Wild Contour Palette
  3. ELF Smudge Brush
  4. ELF Contour Brush

Have you ever noticed when someone has a heavy contour? You know, where its obvious the color on the cheekbones, forehead, nose, jaw, etc is simply unnatural?

This happened to me recently when I bought a Wet n Wild contour palette, along with a the ELF contour brush from the drug store. I heard good reviews by Beauty Influencers on both- I had to put the products to the test! If I had my skin had a yellow undertone or my complexion was tanner, the palette would have been great. I found the contour color was too dark for my skin and the brush resulted in a very harsh contour. After trying the contour, I looked to see if I could find value in the highlight side of the palette. The highlight is actually more of a banana setting powder, which defeats the purpose of the product. When I think of highlight, I think of a shimmery, brightening color.

Contour palettes are not as universal as they seem. While the colors in the contour palette will work for many, you still have to make sure color matches your skin tone. For me, using a taupe eyeshadow provides a better color match for my skin. I use an thick ELF eyeshadow smudge brush in the lightest brown shadow in the Cover Girl Naked palette. I draw a very clear line directly beneath my cheekbones, on my jaw, and around my forehead. Then, I blend with a damp makeup sponge until the application is seamless. This results in a much more natural contour with all the benefits: defined features.

To conclude, in order for a contour palette to work, you need to first know what color contour best suits you as it is not universal. If you need a very customized color, an eyeshadow would work best as there are hundreds of shades of light to dark brown eyeshadow that could work with a variety of formulas.

In few weeks I will follow up by testing out contour sticks. So far, the majority of contour sticks have not worked for me. Once I find the right color and formula, I will share it with you!

Introduction to the Very Polished Beauty

This site is for anyone who is interested in all things beauty. You do not need to be a professional or have any experience with cosmetics or beauty products to enjoy this site. The purpose is to share beauty tips, review products, discuss techniques, and talk about the latest trends.

My blog is aimed toward women looking to enhance their natural beauty for a more polished look. I have watched so many beauty tutorials and followed many Instagram beauty influencers. While the results look amazing on camera, I am certain in real life, it looks heavy and unnatural. My blog is designed for real-life, every day beauty-not the camera.

While I am not a professional makeup artist, I have a lot of experience trying new techniques. I have watched thousands of beauty tutorials on Youtube and tried the techniques and products cosmetics enhancing natural features. While I love the glam look, I do not believe in heavy, overly done makeup. I strive for an enhanced, natural look.

As for my perspective on products, I wear minimal makeup during the day and wear more of a glamorous look for the evenings and weekends.

I hope you takeaway from this site new techniques, ideas, and products you plan to use in your daily life. I hope this inspires you to elevate your routine to the next level!

Please let me know if there are any specific topics you are interested in reading.